Connecting to a Capture Engine from Omnipeek
In order to view packets and data from a Capture Engine, you must first connect to the Capture Engine from the Capture Engines window.
To connect to a Capture Engine from Omnipeek:
1. Do one of the following to display the Capture Engines window:
• Choose > .
• Click on the Start Page.
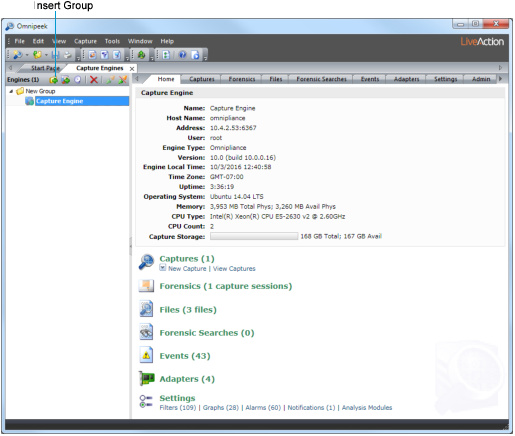
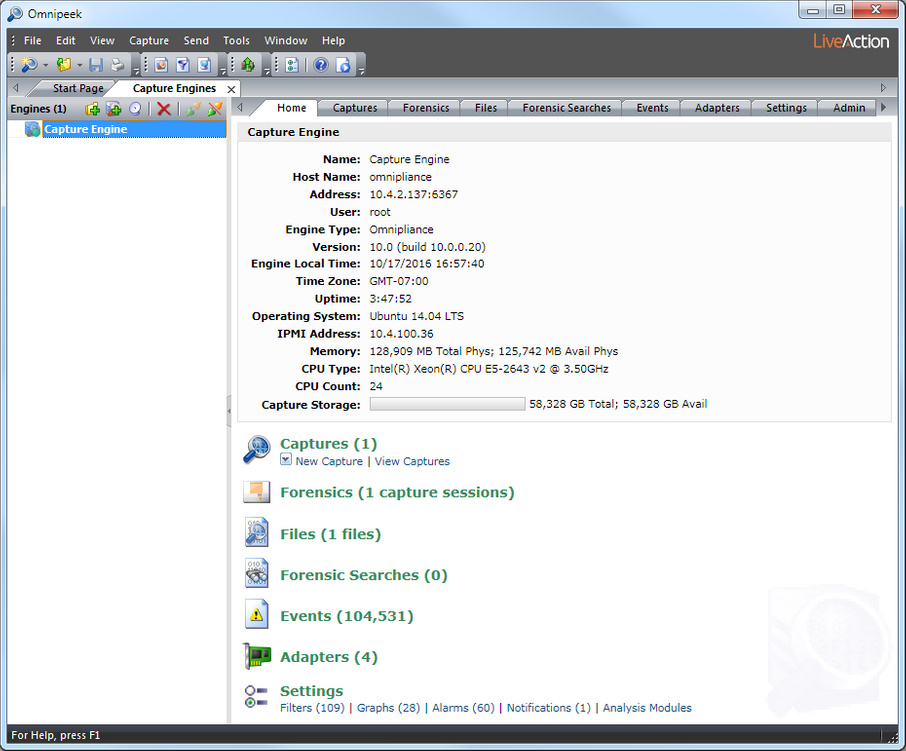
The Capture Engines window appears and displays the list of currently defined Capture Engines.
NOTE: Both Omnipeek and Capture Engine Manager maintain the same list of Capture Engines. Making a change in either program automatically updates the list in the other program.
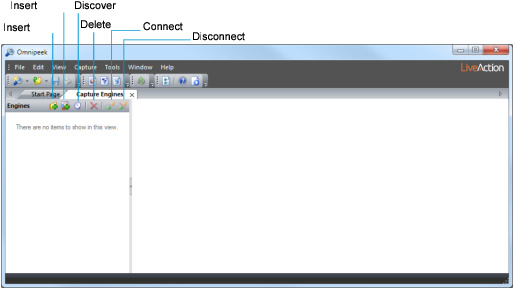
2. Click . The Insert Engine dialog appears.
NOTE: You can also click in the toolbar to find all of the Capture Engines available on your network segment. See Discover Capture Engines for details.
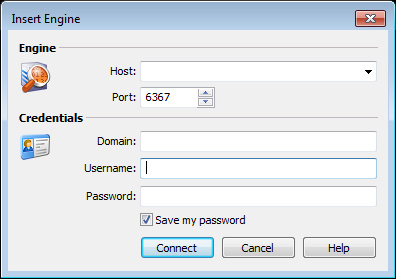
3. Complete the dialog:
• Host: Enter the IP address of the Capture Engine that you want to connect to.
• Port: Enter the TCP/IP Port used for communications. The default port is 6367.
• Domain: Type the Domain for the Capture Engine. If the Capture Engine is not a member of any Domain, leave this field blank.
• Username: Type the Username for login to the Capture Engine.
• Password: Type the Password for login to the Capture Engine.
4. Click . When the connection is established, the Capture Engine appears in the Capture Engines window.
TIP: You can add multiple Capture Engines to the Capture Engines window by clicking .
5. Click to add a group of Capture Engines to the Capture Engines window.
6. Select the Capture Engine group and then click to add an Capture Engine to the group.